Verify Your GoDaddy Domain
Step 1: Log In to Your GoDaddy Account
- Go to the GoDaddy website.
- Once logged in, navigate to your Account dashboard.
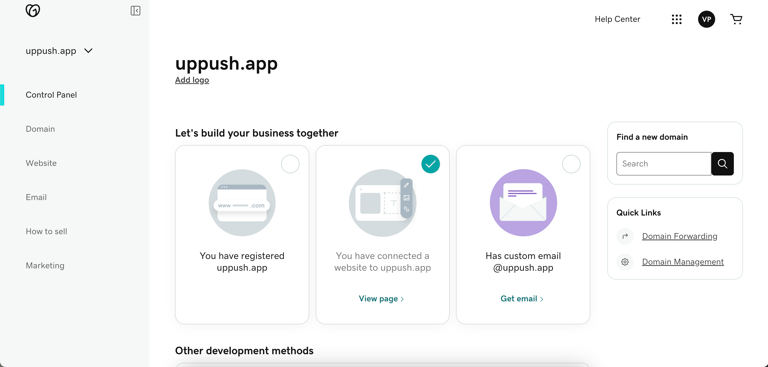
GoDaddy Dashboard
Step 2: Access Domain Management
- From the dashboard, click on My Products.
- Under Domains, find the domain you want to configure and open the DNS Management page for your domain.
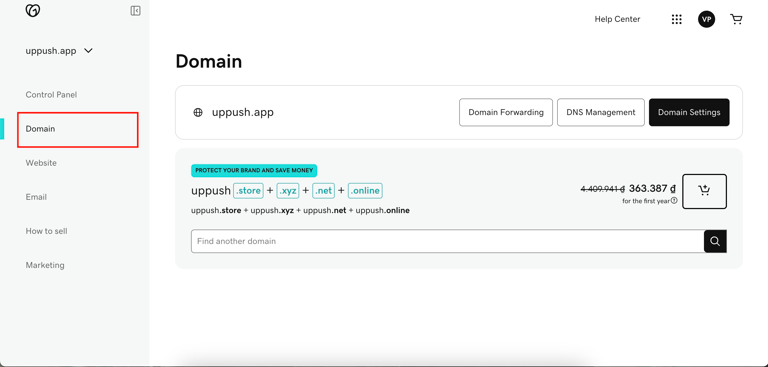
Go to Domain page - DNS Management
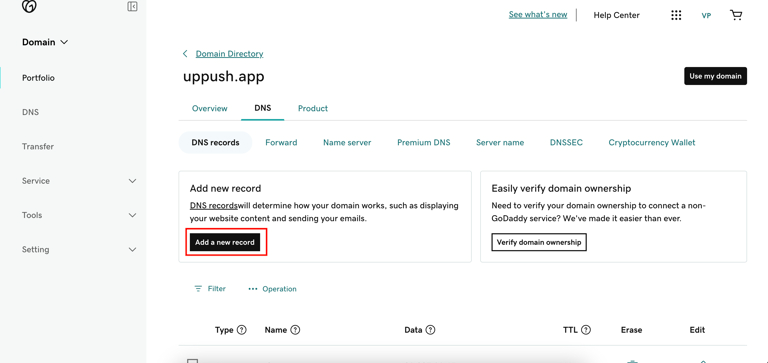
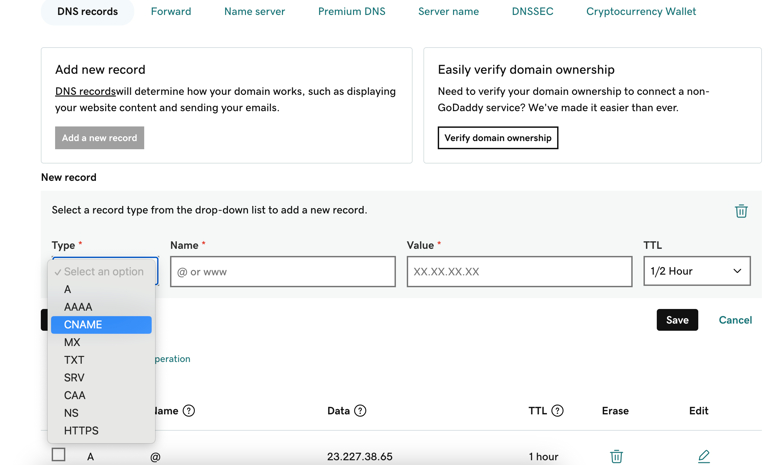
Step 3: Add SPF Record
- On the DNS Management page, switch to DNS tab, then scroll down to the Records section.
- Click Add a new record .
- Enter the SPF record provided by Uppush. It should look something like this:
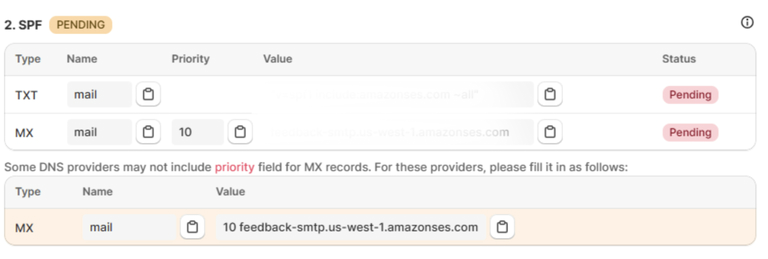
This SPF record indicates that Uppush is authorized to send emails on behalf of your domain.

- Set the TTL (Time to Live) to 1 hour or leave it as default.
- Click Save.
Step 4: Add DKIM Record
- Click Add to create a new record again.
- Enter the DKIM records provided by Uppush
It will look something like this
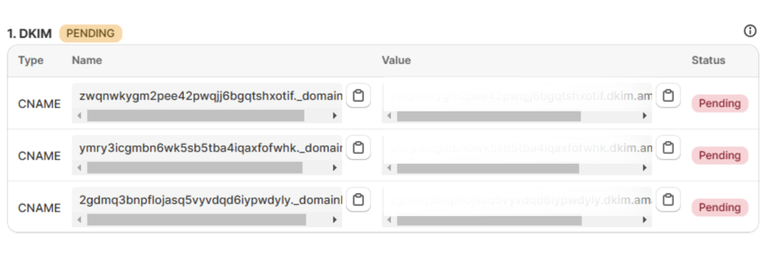
- Set the TTL to 1 hour or leave it as default.
- Click Save.
Step 5: Add DMARC Record
- Click Add to create another new record.
- Paste the DMARC record provided by Uppush (for example):

This DMARC record indicates how email receivers should handle messages that fail SPF or DKIM checks, and where to send reports about these messages.
- Set the TTL to 1 hour or leave it as default.
- Click Save.
Step 6: Verify DNS Records in Uppush
- After adding the SPF, DKIM, and DMARC records in GoDaddy, go back to the Uppush app.
- Navigate to the Verify Domain section in Uppush.
- Click on the Check DNS button to verify if the DNS records have been added successfully.
- The verification may take a few minutes, but if everything is set up correctly, the status will show as Verified.