Verify your Domain.com Domain
Follow the steps below to add DNS records, including SPF, DKIM, and DMARC, to your domain.com domain for proper email configuration with Uppush.
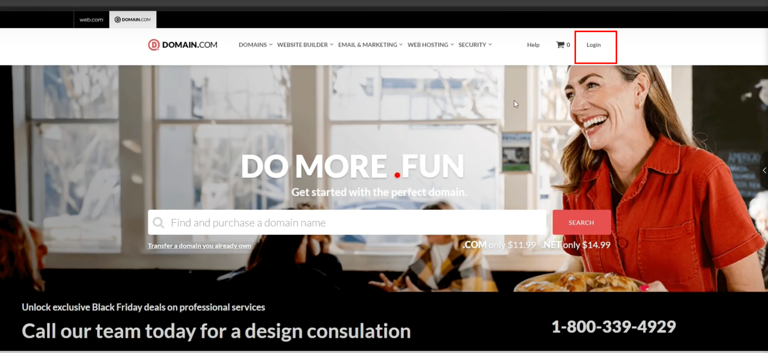
Step 1: Log in to Your Domain.com Account
- Go to domain.com and log in to your account.
- Click on Account in the top-right corner and select Sign In.
- Enter your credentials to log in.
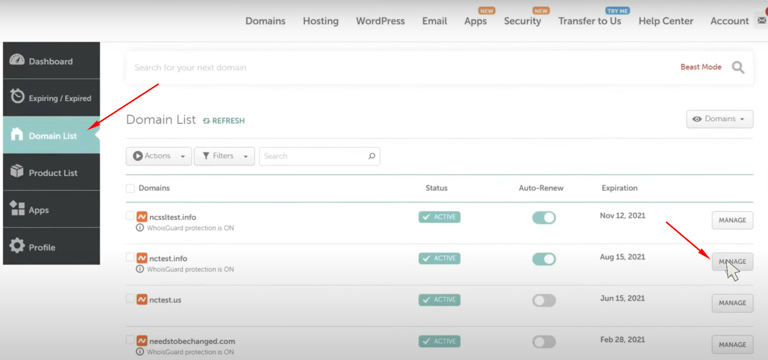
Step 2: Access the Domain Management Section
- Once logged in, navigate to Domain List from the main menu.
- Click on Manage next to the domain where you want to add the DNS record.
Step 3: Open DNS Management
- In the Domain Management Dashboard, look for the section labeled Advanced DNS .
- Click on it to view and manage your DNS records.
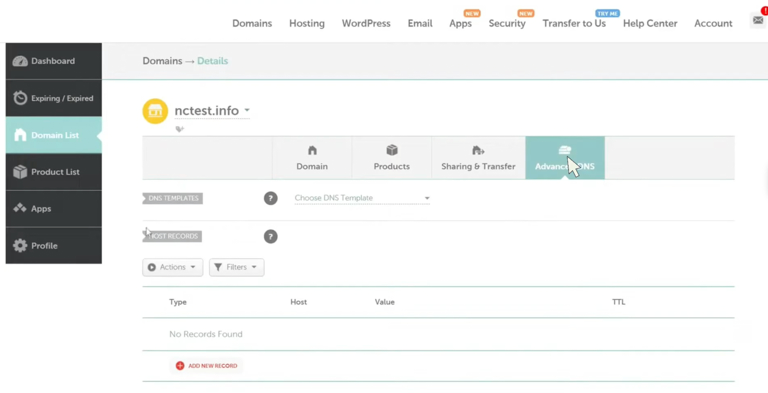
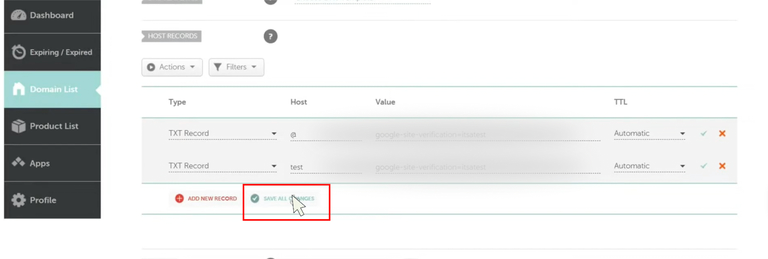
Step 4: Add the DNS Record
Scroll down to the button labeled Add New Record and click i**.**

SPF Record (Sender Policy Framework):
SPF helps verify that the email is sent from an authorized server.
- Enter the SPF record provided by Uppush. It should look like:
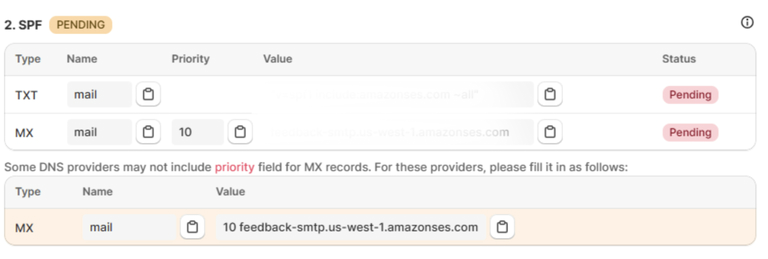
- Set the TTL (Time to Live). The default value is usually fine, but you can set it to a lower time for faster propagation if needed.
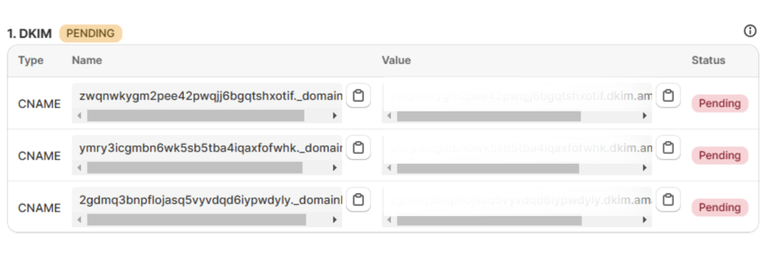
- DKIM Record (DomainKeys Identified Mail):
DKIM helps verify the authenticity of your emails by ensuring they haven’t been tampered with during transit. To add this record:
- Click Add New Record
- Enter the DKIM records provided by Uppush (for example):
- Set the TTL (Time to Live). The default value is usually fine, but you can set it to a lower time for faster propagation if needed.
- DMARC Record (Domain-based Message Authentication, Reporting & Conformance):
DMARC helps to define how email receivers should handle emails that fail SPF or DKIM checks. To add this record:
- Click Add New Record.
- Paste the DMARC record provided by Uppush (for example)

- Set the TTL (Time to Live). The default value is usually fine, but you can set it to a lower time for faster propagation if needed.
- Double-check your entries to make sure everything is correct.
- Click Save All Changes.
Step 5: Verify DNS Records in Uppush
- After adding the SPF, DKIM, and DMARC records in Bluehost, go back to the Uppush app.
- Navigate to the Verify Domain section in Uppush.
- Click on the Check DNS button to verify if the DNS records have been added successfully.
- It may take a few minutes for the DNS records to propagate, but if everything is configured correctly, the status will show as Verified.